
Ceiling Revitalization
Ceilings often show their age before anything else.
Yellowing texture, cracks, and outdated finishes can darken a space and make it feel tired. Ceiling revitalization is one of the most impactful upgrades you can make—and with years of experience, Cardinal Interiors has refined a process that delivers clean, modern results with minimal disruption.
The Ceiling Revitalization Process:
- We will meet with you onsite to look at factors involved in your ceiling revitalization. What type of ceiling finish you have currently can influence the direction we take in providing the ceiling finish you want.
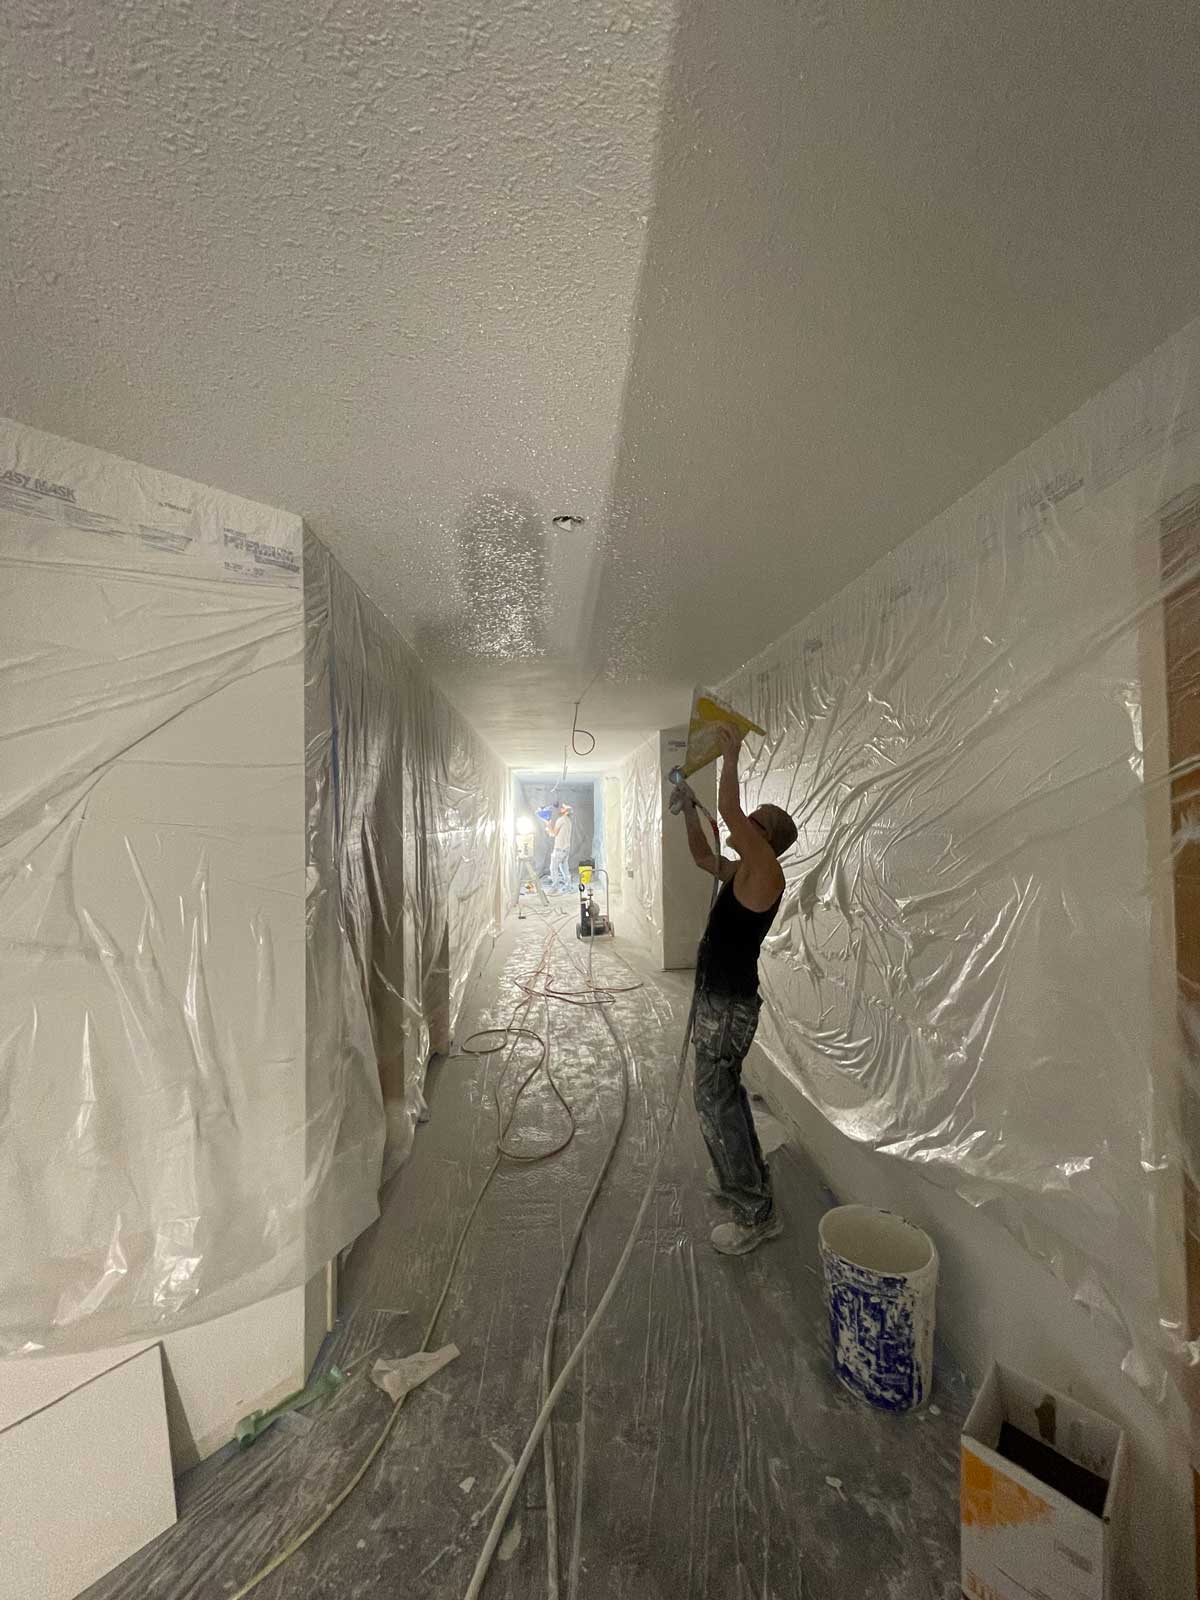
- The work area will be prepped for the work to begin. Floors will be covered, walls will be protected, and proper removal of lights and other ceiling penetrations (vents/bathroom fans) will be done.
- Using automatic sanders and HEPA vacuums, the texture will be safely, meticulously and quickly removed, bagged and disposed of in order to minimize risk and mess in the space.
- Often, once texture is removed, a variety of repairs will reveal themselves. These can range from ceiling cracks to blown tape joints & old patches to popped screws and nails. We will effectively repair these to prep for application of ceiling finish
- As drywall ages underneath texture, it yellows. Depending on the condition & amount of yellowing on the ceiling underneath the texture, an additional couple coats of drywall compound may be needed, along with 1-2 coats of stain blocking primer to prevent the yellowing from bleeding through.
- Ceiling finish application will vary depending on the finish that you choose.
- We will conduct a thorough and precise cleanup of the work area, including removal of all floor and wall protection, sweeping, vacuuming and mopping of floors where needed and replacing of content. All waste and garbage will be removed from site and disposed of.
SnowTex (Popcorn Texture)
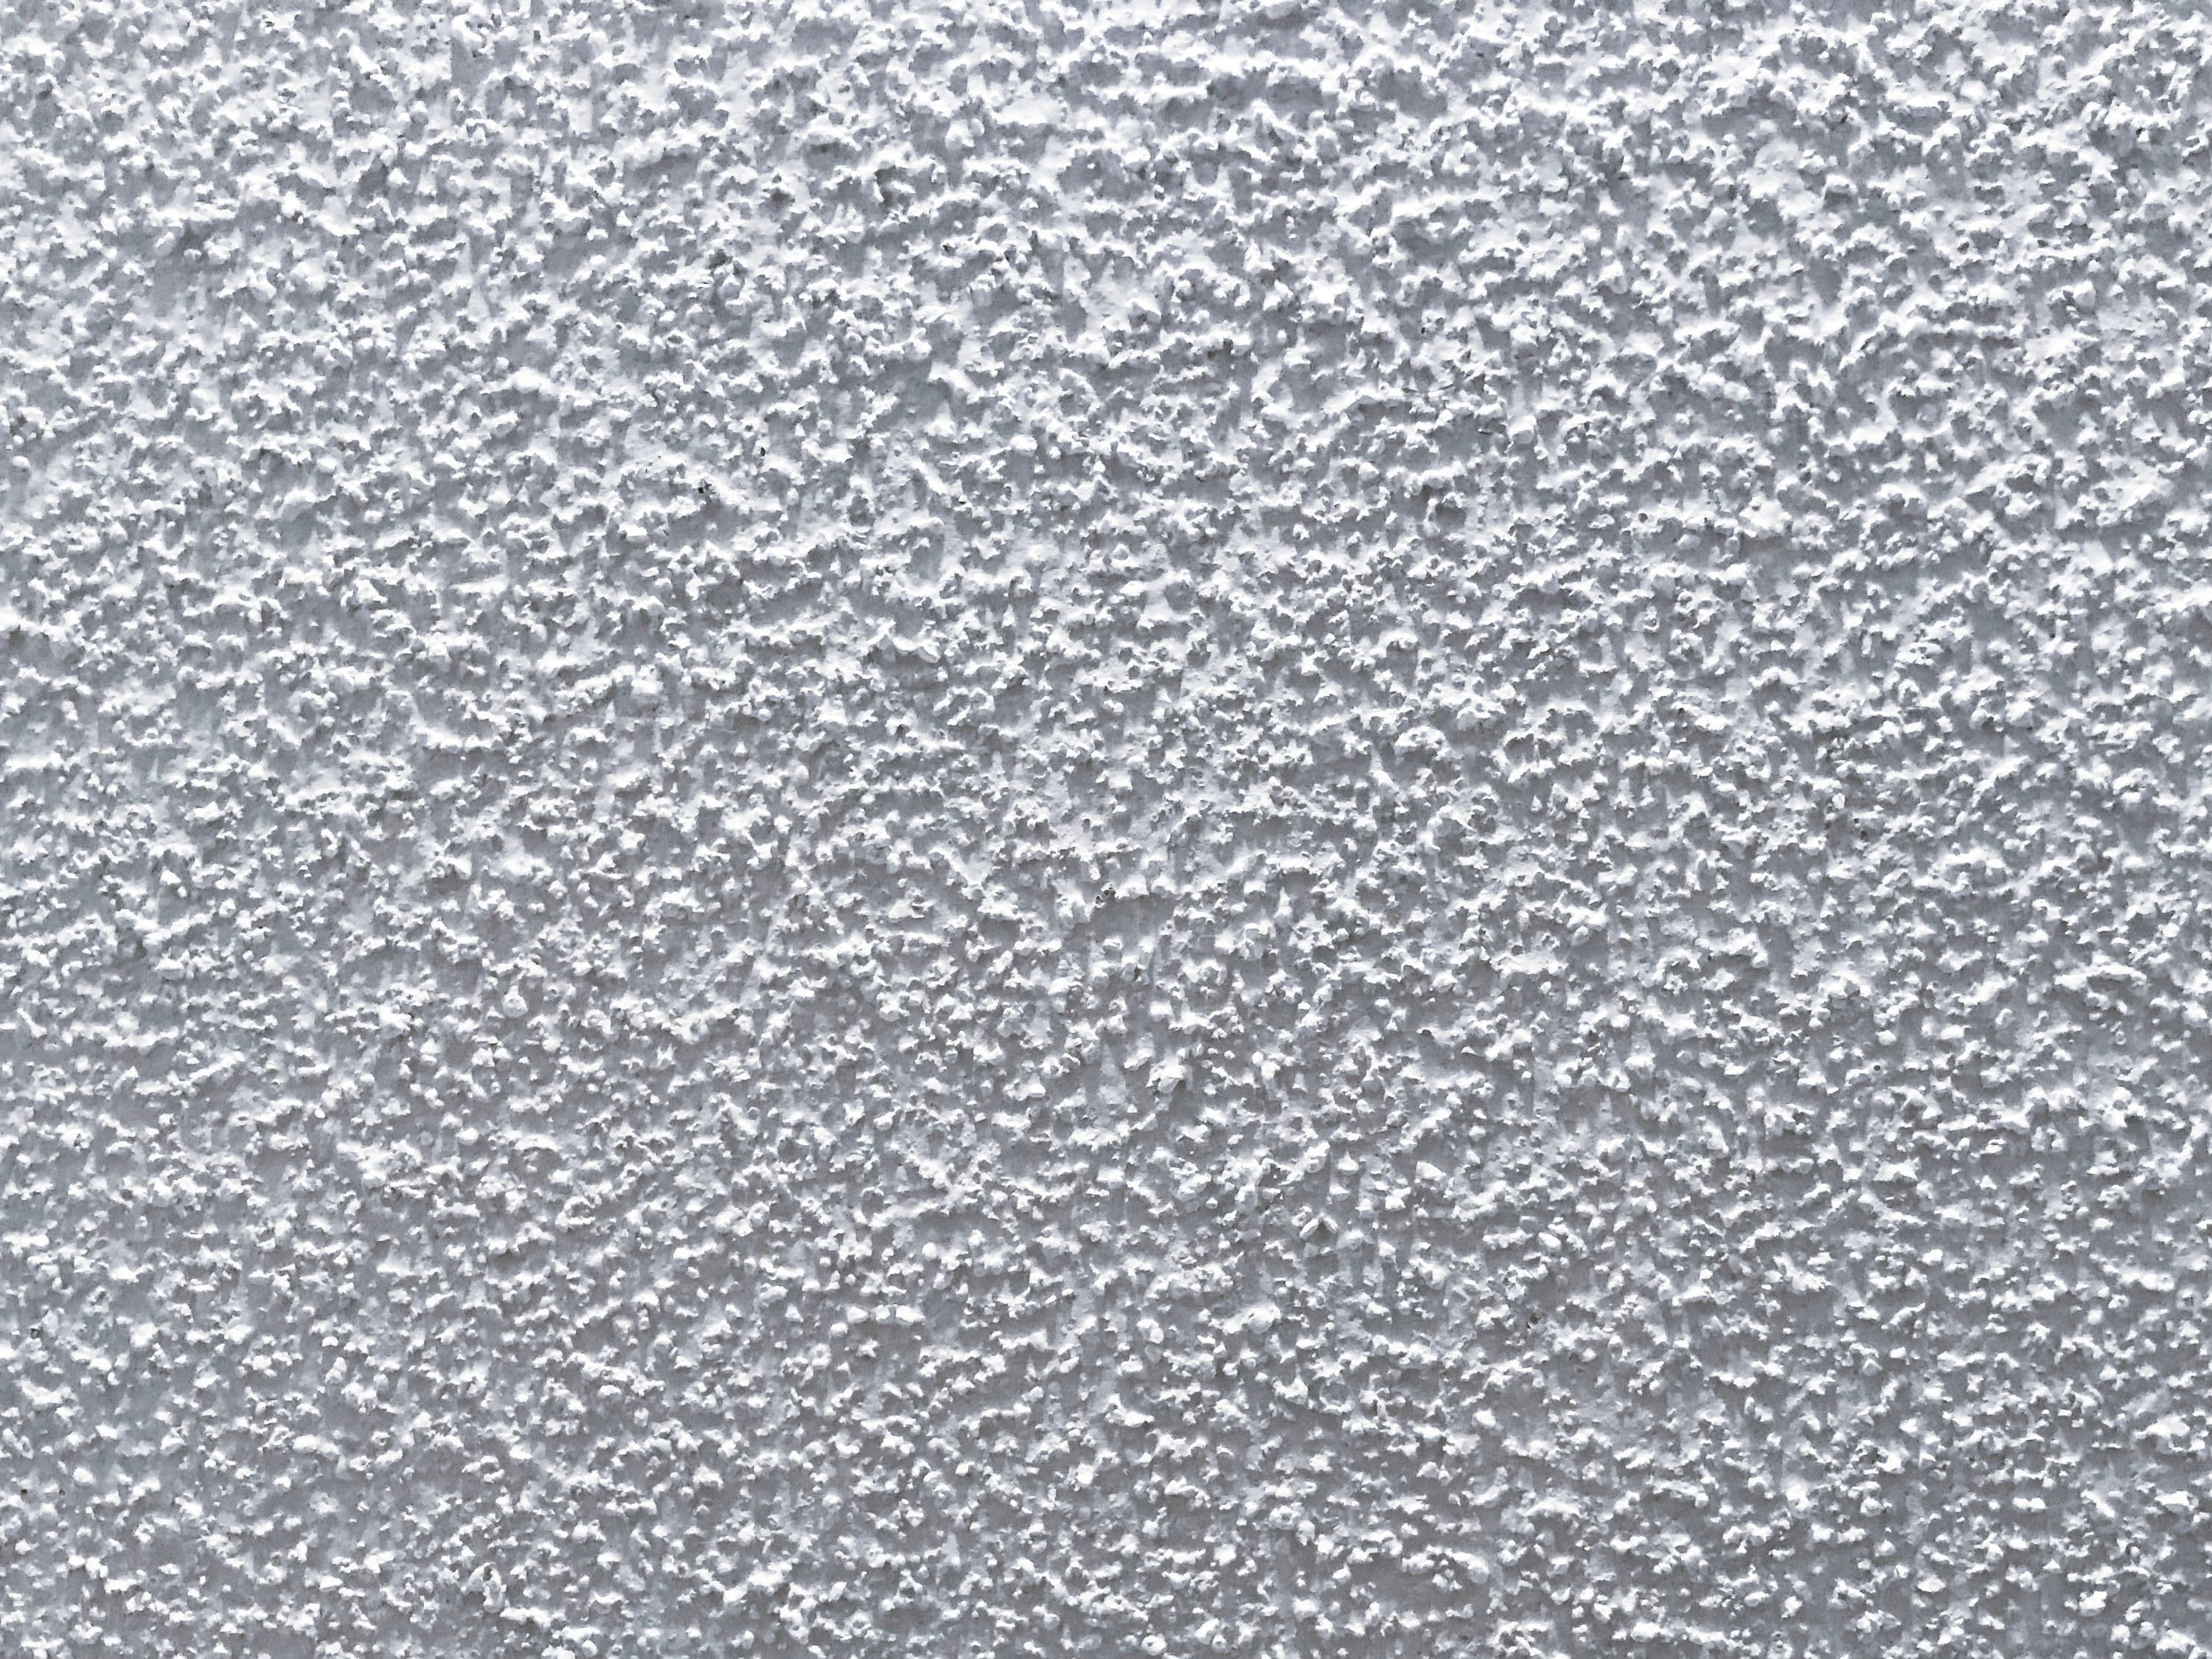
This is the classic texture that is found in most houses pre-1990. It is granulated and can often be found on the floor of your house after someone hits the ceiling with anything. It has almost completely disappeared from most new builds and renovations, but we are able to provide it if needed. Especially when it comes to ceiling patches.
Orange Peel/Splatter Texture
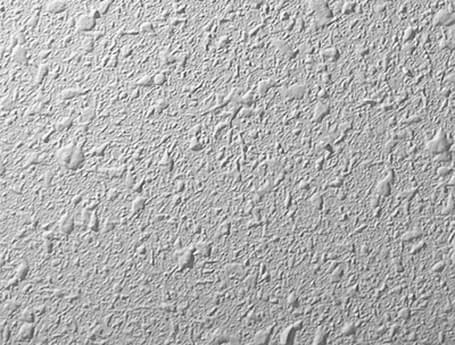
Orange peel and knockdown texture are closely related with the only difference being that orange peel is not “knocked down”. It is sprayed on in consistent globs of drywall mud and left to dry.
Knockdown Texture
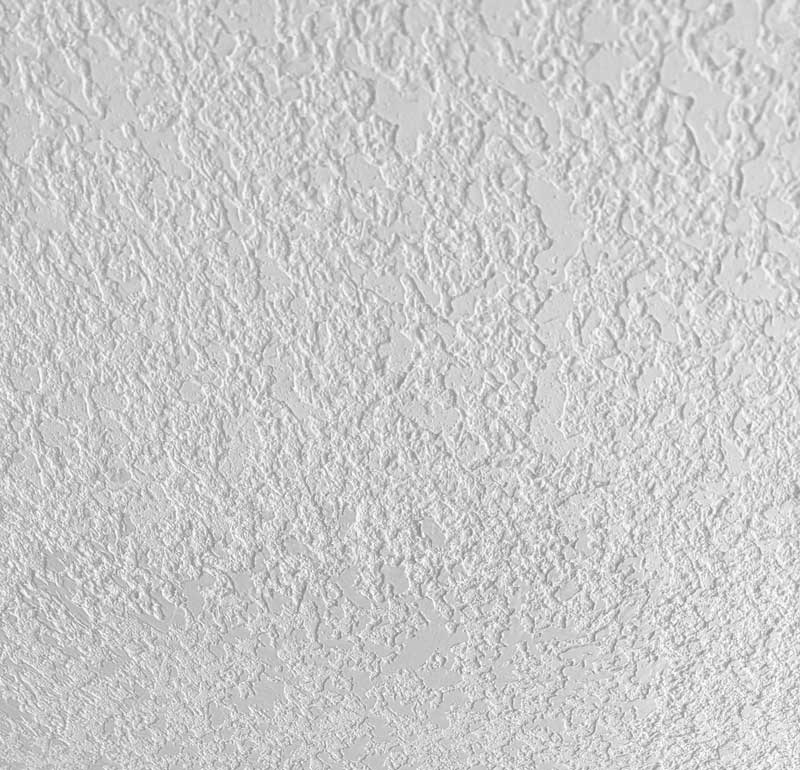
As mentioned above, knockdown texture takes orange peel a step further and, after letting the spray set on the ceiling for anywhere between 5-20 minutes, is dragged using a polyethylene paddle to create a consistent “flattened” look to the ceiling. This is by far the most popular choice of ceiling finish.
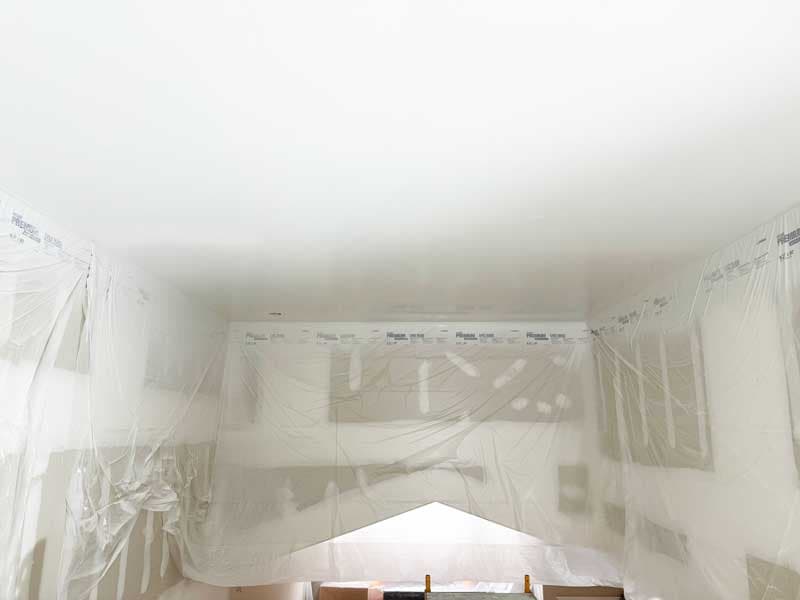
Level 5 Ceilings
While no texturing is involved, this is a high quality finish that takes precision and excellence to achieve. After texture removal, your ceiling will be coated 2-3 times with drywall compound, sanded, then sprayed/rolled with SmoothCoat Level 5 finisher. This will then be sanded again to achieve a smooth, flawless finish.
Request a Quote
Let's Talk.
Have a project in mind? Fill out the form and we'll get in touch within 24 hours to discuss your project. The more detail you share about your scope, budget, and timeline, the better we can tailor our response to your needs.
